Do you still have questions about Salesforce?
Book a free Consultation with our Salesforce expert.


Integrating Salesforce and Outlook allows you to sync contacts, calendars, and emails between the two platforms. This makes your sales and marketing teams more productive by providing a central source of customer information.
In this comprehensive guide, we’ll walk through the entire process of setting up Salesforce and Outlook integration using Lightning Sync or Cloud Connect.
Why Integrate Salesforce and Outlook?
Here are some of the biggest benefits of connecting your Outlook and Salesforce accounts: satisfied with their CRM journey.
Access contacts in one place – Syncing contacts between Outlook and Salesforce ensures all contact details are up-to-date in both systems. This avoids duplicate data entry.
View calendars side-by-side – Syncing Outlook and Salesforce calendars gives you a comprehensive view of all meetings, calls, and events in one calendar.
Log emails automatically – Emails sent and received in Outlook can be automatically captured in Salesforce for a complete history of customer interactions.
Work seamlessly across devices – Lightning Sync enables you to access your Outlook and Salesforce data on desktop or mobile.
Improve sales and marketing efficiency – With vital customer data integrated between the two systems, sales and marketing teams will be better equipped to build relationships.
In summary, integrating Outlook and Salesforce eliminates silos, reduces manual work, and provides the 360-degree view of customers that sales and marketing teams need.
Salesforce now recommends Einstein Activity Capture as the best way to integrate Outlook and Salesforce.
Einstein Activity Capture delivers intelligent productivity features beyond just syncing contacts and calendar events.
Key Benefits of Einstein Activity Capture:
💡Automatic logging of Outlook emails to relevant Salesforce records
💡Near real-time sync of Outlook calendar events
💡Simplified guided setup flow for administrators
💡Supports larger sync volumes than Lightning Sync’s 5K limit
💡Continued innovation and improvements coming
Getting Started with Einstein Activity Capture:
💡In Salesforce Setup, navigate to Einstein Activity Capture > Exchange.
💡Click Set Up Exchange Integration and choose your connection method.
💡Follow the prompts to install the Outlook add-in and log in with your Salesforce credentials.
The guided flow allows you to choose which Outlook items to sync, sync directions, and optionally enable email capture. Einstein Activity Capture automatically initiates the initial sync. Once configured – no field mapping required. Users can immediately start accessing Salesforce data directly within Outlook. Admins can track sync status, manage connectors, and configure capture settings post-setup.
For most use cases, Einstein Activity Capture is the ideal choice to boost productivity by connecting Outlook and Salesforce.
Lightning Sync provides basic bi-directional sync of Outlook contacts into Salesforce objects.
However, Lightning Sync is now only available to customers who subscribed before Winter ’21. It will receive no new feature enhancements.
For legacy Lightning Sync setup:
💡Install the Lightning Sync Outlook add-in
💡Configure sync directions and field mappings
💡Limitations include 5K contacts and no email sync
Cloud Connect provides a full, two-way sync between Outlook and Salesforce. This includes emails, contacts, calendars, and tasks. It works through a connector app installed on your network.
Key features:
☁️Bi-directional syncing
☁️ Email syncing
☁️ Handles large data volumes
Ideal for: Large teams that need end-to-end sync and email logging.
Now let’s walk through how to set up each of these integration methods.
Lightning Sync provides an easy way to integrate Outlook contacts and calendars with Salesforce. Here is a step-by-step guide to setting it up:
You’ve now set up Lightning Sync between Outlook and Salesforce! Contacts and calendar events will now automatically sync based on your configured settings.
Cloud Connect enables complete integration between Outlook and Salesforce, including syncing emails, contacts, calendars, and tasks. Follow these steps to set it up:
Now your Outlook users are ready to sync completely with your Salesforce org!
After setting up your Salesforce–Outlook integration, you might want to streamline how you manage documents and collaboration. Here’s how SharePoint can help.
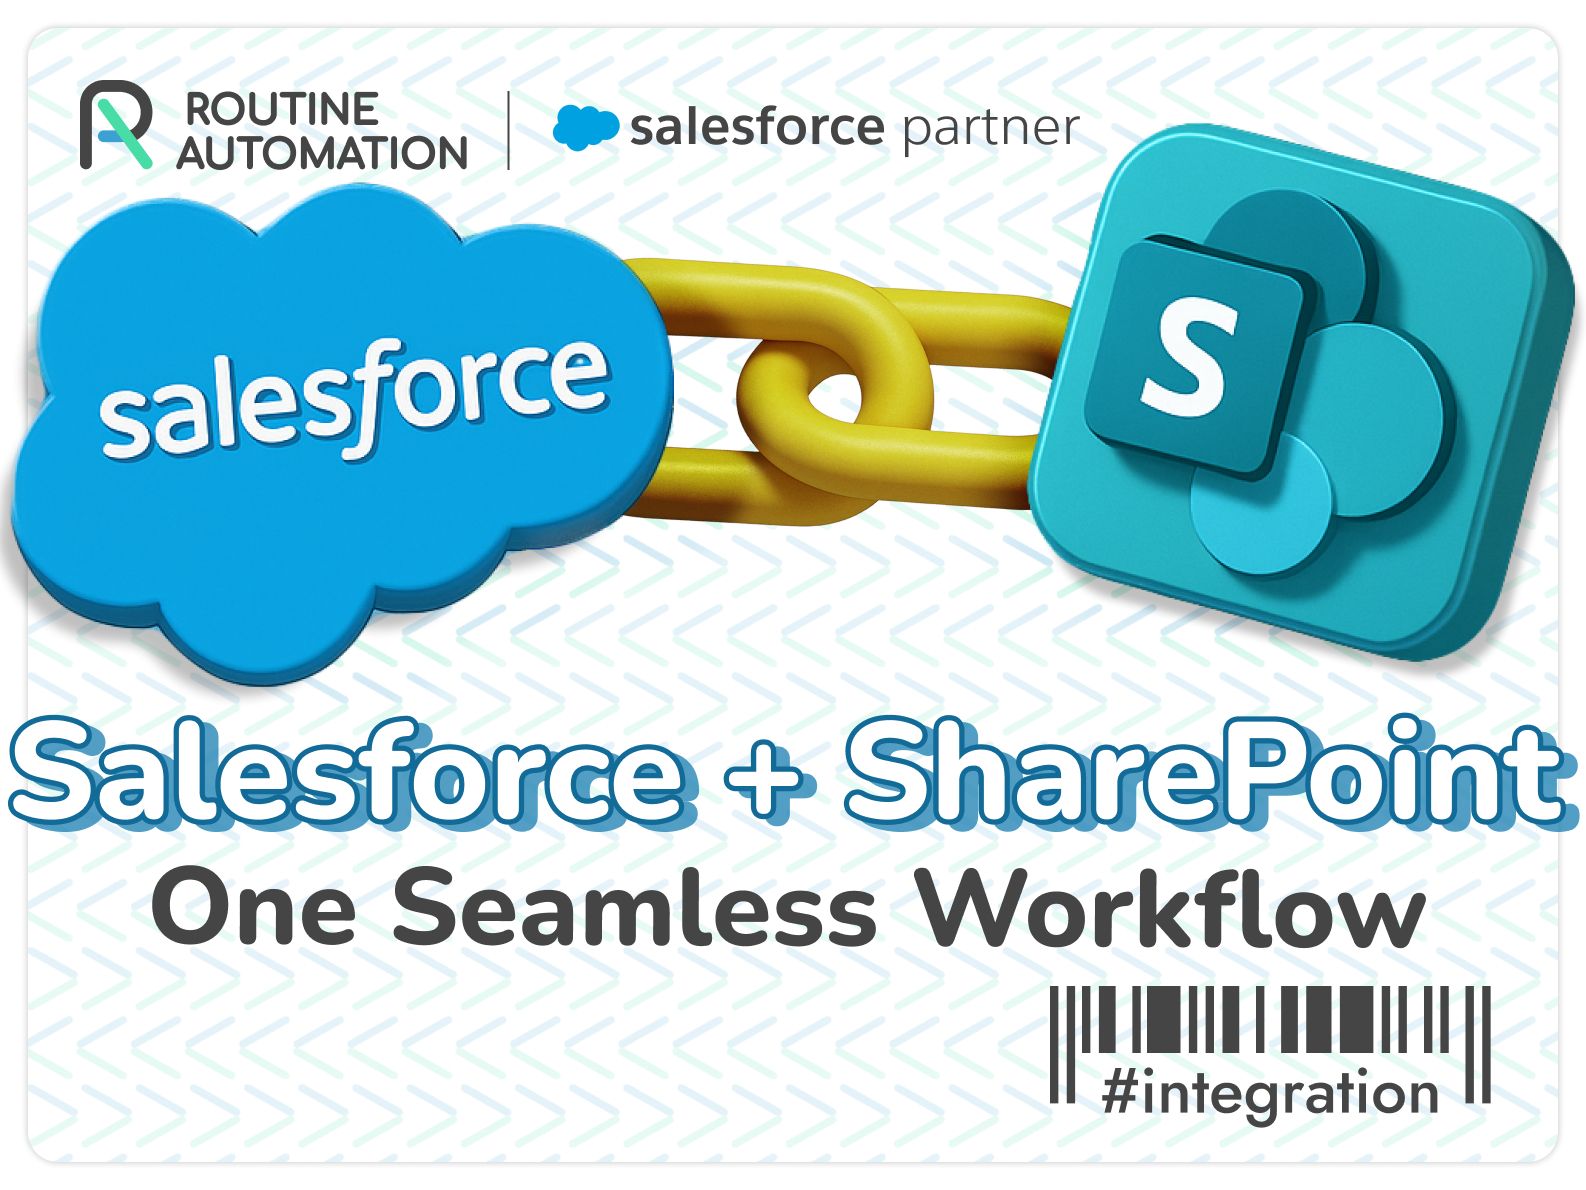
Learn how to connect Salesforce and SharePoint to streamline document storage, team collaboration, and access control.
Here are some top tips for optimizing your Salesforce-Outlook integration:
⚡Map fields carefully to avoid duplicate or irrelevant data.
⚡Clean up data before syncing to eliminate obsolete information.
⚡Test initially with a small group to identify any issues before a company-wide rollout.
⚡Train end users on proper usage and how records sync between systems.
⚡Review error logs regularly to troubleshoot and fix any problems.
⚡Disable Salesforce email alerts to prevent duplicate emails.
⚡ Revisit sync rules periodically to adjust as needs evolve.
⚡Contact support if major issues occur that require troubleshooting.
By following these best practices, you can maximize the value and productivity gains from integrating Outlook and Salesforce.
Integrating Outlook and Salesforce provides immense benefits by breaking down data silos and providing customer data continuity between the platforms. Both Lightning Sync and Cloud Connect offer robust integration options to suit different needs.
Follow this guide to get your integration up and running. With proper setup and ongoing optimization, your sales and marketing teams will be empowered with the 360-degree customer view to build better relationships and close more deals.